Rate this post
If you’re looking for a step-by-step guide on how to change reverse osmosis filters, you’ve come to the right place. Reverse osmosis filters are an essential component of any RO system, as they help remove impurities and contaminants from your drinking water. In this article, we’ll walk you through the process of changing your RO filters, ensuring that your water remains pure and healthy.
- Step 1: Turn off the System: The first step in changing your reverse osmosis filters is to turn off the system’s water supply. This can be done by turning off the valve that feeds water into the system.
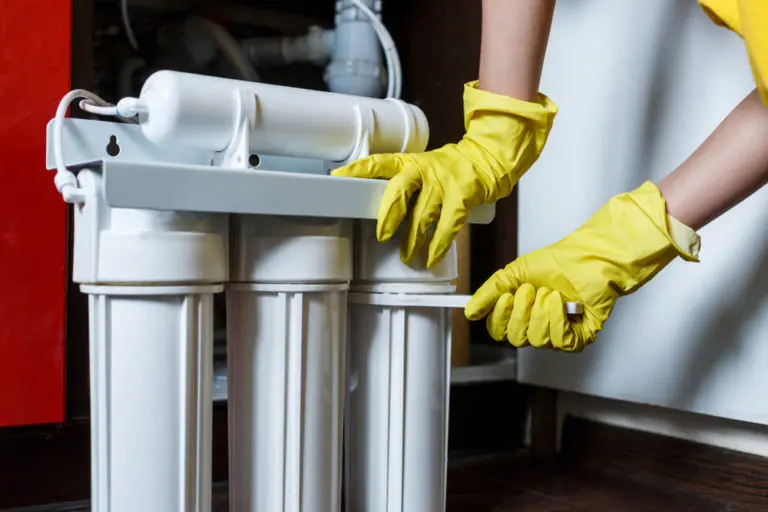
- Step 2: Locate the Filters: Next, locate the filters in your reverse osmosis system. Usually, there are three to four filters in an RO system, and they are located under the sink. The filters are usually color-coded and labeled, which makes it easy to identify which one needs to be replaced.
- Step 3: Remove the Filters: To remove the filters, turn them counterclockwise until they come loose. You may need to use a filter wrench to help you loosen them. Once they are loose, pull them out of their housings.
- Step 4: Dispose of Old Filters: Dispose of the old filters in a safe and environmentally friendly way. You can check with your local waste management facility for guidance on how to dispose of them properly.
- Step 5: Install New Filters: Insert the new filters into the housings, making sure to align them properly. Turn them clockwise until they are snug. Do not overtighten the filters, as this can damage the system.
- Step 6: Turn on the System: After you have installed the new filters, turn on the water supply to the system. Check for leaks and make sure everything is working correctly.
How to Replace Reverse Osmosis Filters
In conclusion, changing the filters in your reverse osmosis system is an essential task that should be done regularly to ensure that you have clean and safe drinking water.


